

ℹ️ Affiliate Disclosure: This article may contain affiliate links. We may earn a commission at no extra cost to you. Thanks for your support! ❤️
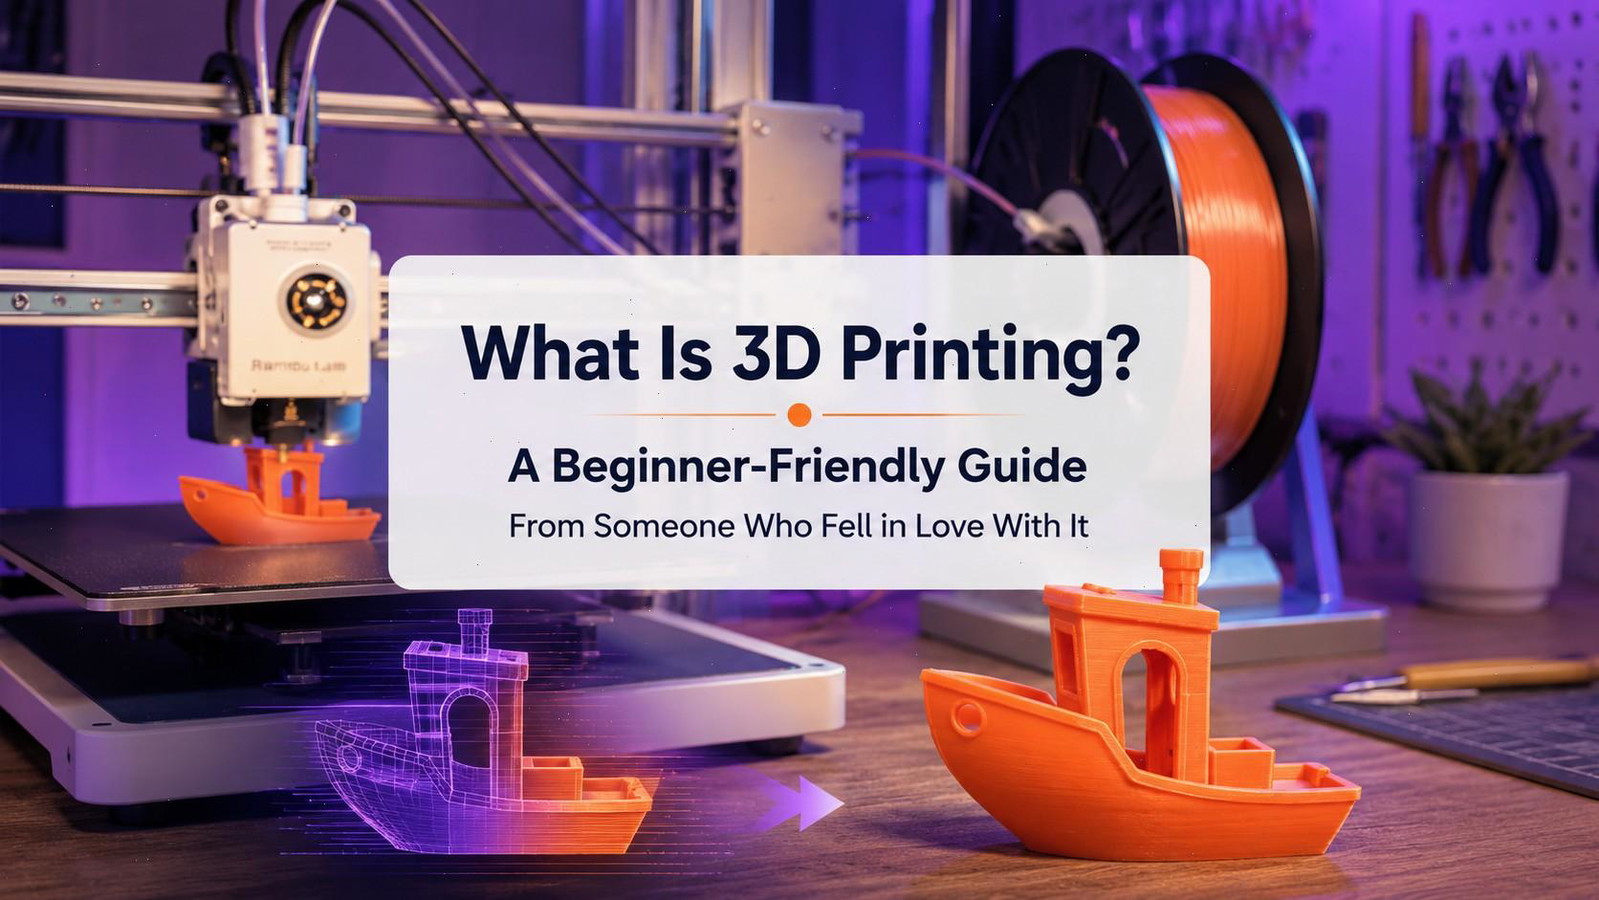
What Is 3D Printing? A Beginner-Friendly Guide
The first time I watched a 3D printer build an object, I found it difficult to look away. A thin line of plastic appeared on an empty build plate, then another line followed it. Slowly, the shape became recognizable.
That gradual transformation is still one of the most appealing parts of 3D printing for me. A digital model begins as geometry on a screen and eventually becomes something you can hold, photograph, modify, or use in a real project.
In simple terms, 3D printing is a process that turns digital 3D models into physical objects by building them one layer at a time. It can be used for practical household parts, decorative objects, prototypes, miniatures, tools, product concepts, and countless other projects.
This beginner-friendly guide explains how the process works, what materials and printers are available, and what you need before creating your first print.
What Is 3D Printing, Really?

Imagine a computer-controlled glue gun that can move with precision and gradually build an object from the bottom upward.
That is a simplified description of how many desktop 3D printers operate.
More formally, 3D printing is an additive manufacturing process. Instead of cutting an object from a larger block of material, the printer adds material only where it is needed. Each thin layer becomes part of the finished form.
This layer-by-layer process is one of the main differences between 3D printing and traditional manufacturing methods such as machining, carving, or milling.
The basic workflow usually looks like this:
- Create or download a 3D model.
- Prepare the model in slicing software.
- Send the prepared file to the printer.
- Print the object layer by layer.
- Remove supports and finish the surface if necessary.
The idea sounds straightforward, but the quality of the final object depends on several connected decisions. Model geometry, orientation, layer height, material, temperature, support placement, and print speed can all influence the result.
From a visual perspective, I find this especially interesting. The same model can look clean and refined in one print, then appear rough or poorly proportioned in another simply because its orientation or settings changed.
The Blueprint: How It All Starts
Every 3D print begins with a 3D model.
This digital file describes the shape of the object. It contains the geometry that defines the surfaces, edges, curves, openings, and proportions of the design.
You can get a model in two main ways.
Download an Existing 3D Model
Websites such as Thingiverse, Printables, MyMiniFactory, and Cults3D contain large collections of downloadable 3D models. These libraries are useful when you are learning because they let you focus on printing before designing objects from scratch.
Another option is Creative Fabrica 3D, where you can browse ready-to-print models and use AI tools to turn a basic idea into a printable 3D design. I find this approach especially useful when I have a clear concept but do not want to build the entire model manually in Blender or CAD software. It shortens the path from an idea to an STL file, although the generated geometry should still be checked before printing.
Marketplace previews do not always tell the full story. One thing I often notice when browsing 3D assets is that a model may look impressive in a polished render but still be awkward to print. Thin walls, unsupported sections, overly dense geometry, or poorly prepared files can create problems that are not obvious in the preview image.
Before downloading or generating a model, I usually check:
- photographs of completed prints;
- recommended print orientation;
- support requirements;
- wall thickness and small details;
- model dimensions;
- licensing terms;
- whether the mesh needs repair.
A visually attractive 3D model is not automatically production-ready. Even when using an AI 3D model generator, it is worth opening the file in your slicer, checking the layer preview, and looking for fragile geometry before starting a long print.
Create Your Own 3D Model
You can also design an object yourself.
Tinkercad is a friendly starting point for simple designs such as organizers, brackets, nameplates, and basic household objects. Blender offers far more creative freedom for sculptural forms, decorative assets, product concepts, and visual experimentation.
For dimension-sensitive parts, many creators use CAD software such as Fusion or FreeCAD.
The best software depends on what you want to make. There is no need to learn an advanced application before printing your first object.
Prepare the Model in a Slicer
A 3D printer cannot directly interpret a model in the same way that Blender or another design application displays it.
The model must first pass through a program called a slicer.
Slicing software divides the object into thin horizontal layers and generates instructions for the printer. These instructions are commonly stored as G-code.
Popular slicers include:
- Cura;
- PrusaSlicer;
- OrcaSlicer;
- Bambu Studio;
- IdeaMaker.
Inside the slicer, you can adjust settings such as layer height, infill, wall thickness, supports, print speed, and temperature.
This stage has a significant effect on the finished object.
A detailed model does not always need the smallest possible layer height. For a practical bracket hidden inside a cabinet, fine surface detail may only increase printing time. For a display miniature or product prototype, smoother layers may be worth the additional hours.
Good preparation is often more useful than simply choosing the highest-quality preset.
The Materials: What Are 3D Prints Made Of?
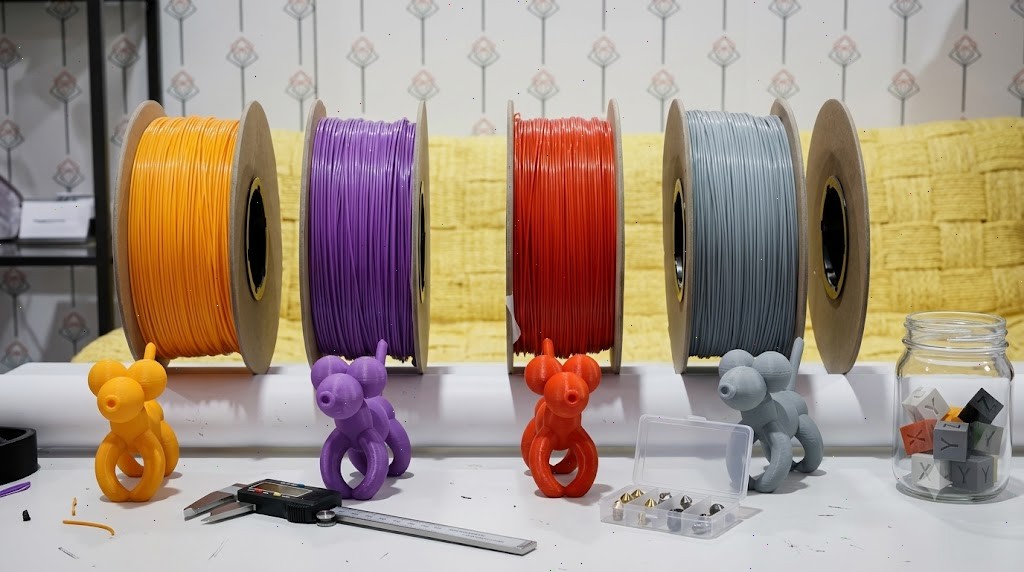
Desktop 3D printers can use several materials, each with different visual and practical qualities.
The best choice depends on the object, the printer, and the environment in which the finished part will be used.
PLA
PLA, or polylactic acid, is the material many beginners start with.
It is relatively easy to print, widely available, and offered in a large range of finishes. You can find matte PLA, silk PLA, translucent colors, stone-like blends, wood-filled filaments, and materials designed to imitate metal.
PLA is commonly used for:
- decorative objects;
- toys;
- organizers;
- models;
- display pieces;
- prototypes;
- household accessories.
It is often described as biodegradable, but that description needs context. PLA generally requires controlled industrial composting conditions and does not quickly break down in normal household environments.
From a presentation standpoint, matte PLA can be particularly forgiving because it hides layer reflections better than very glossy filament. Silk filament looks dramatic in photographs, although it can sometimes exaggerate surface imperfections and may be less suitable for functional parts.
PETG
PETG offers a useful balance between printability, strength, and flexibility.
It is often chosen for practical parts that need more durability than PLA can provide. PETG can also handle moisture and moderate heat better than standard PLA.
Its glossy surface can be attractive, but it tends to reveal stringing and uneven extrusion. Clean material settings matter more when the surface is highly reflective.
ABS and ASA
ABS is stronger and more heat-resistant than PLA, but it is also more demanding to print. It tends to warp as it cools and usually performs best inside an enclosed printer.
ASA has similar qualities and offers better resistance to sunlight, making it useful for some outdoor applications.
Both materials require appropriate ventilation. They are less convenient for a first print than PLA, especially in a small indoor workspace.
TPU
TPU is a flexible material used for objects such as protective covers, feet, grips, seals, and wearable parts.
The softness varies between filament types. Printing flexible material often requires slower speeds and a suitable extrusion system.
Visually, TPU can produce convincing rubber-like surfaces, although layer lines remain visible unless the object is carefully designed and lit.
Resin
Resin printers use liquid photopolymer rather than filament.
They can produce very fine details, which makes them popular for:
- miniatures;
- figurines;
- jewelry prototypes;
- small product models;
- highly detailed decorative pieces.
Resin printing also requires more careful handling. Uncured resin should not touch bare skin, and printed objects usually need washing and ultraviolet curing.
The finished detail can be impressive, but resin printing is not simply a cleaner or more precise version of filament printing. It is a separate workflow with additional safety equipment, consumables, and cleanup.
The Printer: Your New Creative Tool
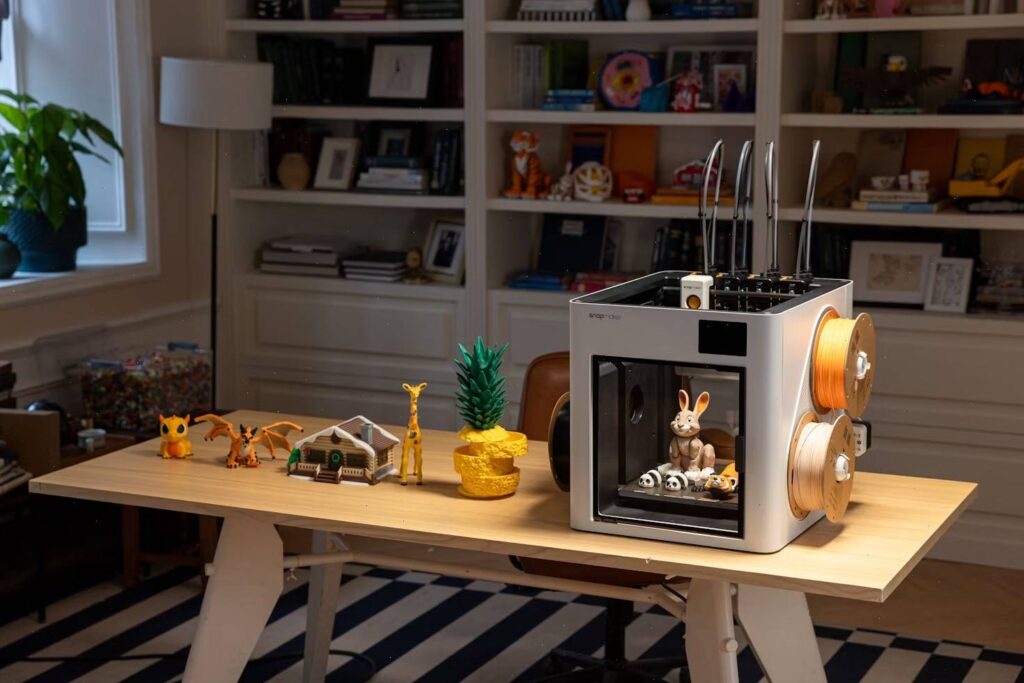
Most beginner desktop printers fall into one of two broad categories: filament printers and resin printers.
FDM Printers
FDM stands for fused deposition modeling.
An FDM printer heats a plastic filament and pushes it through a nozzle. The print head moves across the build area while depositing material in thin lines.
The object is constructed along three axes:
- X for horizontal movement;
- Y for depth;
- Z for vertical height.
FDM printers are popular because the materials are relatively affordable and the workflow suits a wide range of practical projects.
Entry-level machines have improved considerably. Many modern printers now include features such as automatic bed leveling, removable build plates, filament sensors, and faster print profiles.
Even so, no printer removes every learning curve.
You may still need to understand:
- first-layer adhesion;
- nozzle temperatures;
- support placement;
- filament moisture;
- model orientation;
- bed cleanliness;
- basic maintenance.
These details are not especially glamorous, but they have a greater effect on print quality than many beginners expect.
Resin Printers
Resin printers use ultraviolet light to cure liquid resin one layer at a time.
They are especially effective when small surface details matter. A resin miniature can show facial features, fabric folds, and engraved patterns that would be difficult to reproduce on a typical filament printer at the same scale.
The trade-off is a more involved process. Resin prints need washing, curing, support removal, and responsible material disposal.
I would choose between FDM and resin based on the objects I want to create, not simply on which technology produces sharper details.
For organizers, replacement parts, larger prototypes, and household objects, FDM is often more practical. For small display models and intricate miniatures, resin may offer stronger presentation value.
Everyday Examples of 3D Printing
3D printing becomes easier to understand when you look at ordinary problems it can solve.
You might print:
- a stand for your phone;
- a replacement knob;
- a cable organizer;
- a drawer divider;
- a wall hook;
- a custom plant pot;
- a camera accessory;
- a tabletop gaming insert;
- a cosplay detail;
- a prototype enclosure;
- a personalized gift.
The most useful projects are not always the most visually complex.
A small clip or bracket may take less than an hour to print, yet solve a problem that would otherwise require replacing an entire product.
This is where 3D printing feels different from simply collecting decorative objects. You begin noticing opportunities to improve the physical space around you.
A badly placed cable, an awkward storage gap, or a broken plastic component can become a design prompt.
Product Visualization and Prototyping
3D printing also connects naturally with product visualization.
A product may look convincing in a Blender render but feel completely different once it exists at physical scale. Proportions that seemed balanced on a monitor may appear too heavy, too narrow, or uncomfortable in the hand.
A printed prototype gives you information that an image cannot.
You can evaluate:
- physical scale;
- grip and ergonomics;
- wall thickness;
- assembly;
- clearances;
- balance;
- silhouette;
- how light interacts with the real surface.
At the same time, renders remain useful because they allow rapid experimentation with color, materials, lighting, and presentation before producing multiple physical versions.
I see rendering and 3D printing as complementary tools. One helps communicate the idea; the other reveals how the design behaves in the real world.
Why 3D Printing Becomes So Addictive
The appeal of 3D printing is not limited to the finished object.
Part of the enjoyment comes from watching an idea move through several visual stages:
- a rough concept;
- a digital model;
- a sliced preview;
- a physical print;
- a photographed or rendered presentation.
Each stage reveals something new.
It Encourages Creative Problem-Solving
You start thinking about objects differently.
Instead of asking where to buy a specific item, you may begin asking how it could be designed.
Not every idea needs to be complicated. A simple shape with good proportions can be more successful than an overdesigned object covered in unnecessary detail.
It Makes Digital Design Tangible
Working in Blender or another 3D application usually means viewing forms through a screen.
Printing gives those forms weight, scale, texture, and physical presence.
This can be especially useful when learning composition and proportion. A model that looks elegant in isolation may feel less convincing when placed beside real objects.
It Teaches Patience
3D printing involves failed attempts.
A print may detach from the bed. Supports may leave marks. Filament may absorb moisture. A dimension may be slightly wrong. A model may take ten hours to reveal a design mistake that could have been fixed in ten minutes.
These failures are frustrating, but they also improve your understanding of the workflow.
It Can Support a Small Business
Some creators sell printed products, prototypes, miniatures, replacement parts, or personalized objects.
However, owning a printer does not automatically create a profitable business.
Successful products still need:
- a clear purpose;
- reliable print quality;
- appropriate licensing;
- accurate production costs;
- consistent finishing;
- strong photography;
- sensible packaging;
- a recognizable visual style.
Presentation plays a major role here. A basic object shown with thoughtful lighting and clean composition can appear more trustworthy than a complex model photographed in a cluttered workspace.
The product itself matters, but so does the way people first encounter it.
Final Thoughts
3D printing is a process that connects digital creativity with physical making.
A model begins as geometry, passes through slicing software, and gradually becomes a real object. That object might be practical, decorative, experimental, or simply a way to understand an idea more clearly.
Start with something small.
A simple phone stand, cable clip, planter, or desk organizer will teach you more than an ambitious project that requires days of troubleshooting.
Pay attention to the first layer. Learn how your chosen material behaves. Observe where supports leave marks. Notice how orientation changes the surface.
Most importantly, avoid judging every print only by the amount of detail it contains. A clean silhouette, sensible geometry, and appropriate material often matter more than an extremely high polygon count.
The same principle applies to product visualization: technical complexity is not the same as visual quality.
A refined result usually comes from a series of restrained decisions rather than one impressive setting.
FAQs
1. Is 3D printing difficult to learn?
The basic workflow is approachable, especially with modern beginner printers. You still need time to understand slicing, materials, first-layer adhesion, and model orientation. Starting with a small PLA project keeps the learning process manageable.
2. How much does it cost to start 3D printing?
The total depends on the printer, region, and accessories. Besides the machine, budget for filament or resin, basic tools, replacement nozzles, cleaning supplies, and suitable ventilation. The printer is only part of the initial cost.
3. What can you make with a 3D printer?
You can create organizers, tools, toys, decorative objects, miniatures, cosplay parts, prototypes, plant pots, replacement components, gifts, and product mockups. The available build volume and material properties will determine what is practical.
4. Do I need to understand 3D design before starting?
No. Thousands of ready-to-print models are available online. Learning basic 3D design becomes useful when you want to customize dimensions, repair a model, or create an original object.
5. How long does a 3D print take?
A small object may take less than an hour, while a large detailed model can take many hours or several days. Print time depends on model size, layer height, speed, infill, supports, and nozzle diameter.
6. Is 3D printing safe?
It can be used safely when the printer and materials are handled correctly. Avoid touching hot components, provide suitable ventilation, follow resin safety procedures, and keep the machine away from children and pets. Printers should not be left running without appropriate monitoring and fire-safety precautions.
7. Can you make money with 3D printing?
Yes, but profitability depends on product selection, licensing, material costs, print time, failed prints, finishing, packaging, and demand. Selling generic models in a crowded marketplace is usually harder than solving a specific problem or developing an original visual identity.
8. Where can I download 3D models?
Thingiverse, Printables, MyMiniFactory, and Cults3D are widely used platforms. Check the model license before selling printed versions, and review photographs or user comments before committing to a long print.
9. How do I fix a failed 3D print?
Begin by checking the first layer, build-plate cleanliness, bed leveling, nozzle temperature, filament condition, and slicer settings. The shape of the failure often provides a clue. Stringing, warping, layer shifts, and poor adhesion usually have different causes.
10. What is the best filament for beginners?
PLA is usually the easiest starting material because it prints at moderate temperatures and generally requires less enclosure control than ABS or ASA. Standard PLA is often easier to tune than decorative blends, silk filaments, or materials containing wood and other particles.
Follow Us